Building Dynamic Emails with HEML in Node & Express


There's a ton of email services out there to reach your users. There's Mailchimp, Revue, Sendgrid, SES, etc. But costs can quickly rise if your sending regular emails and as an indie maker that can keep you back. I initially launched the beta for Wave Radio with basic plain text emails but I knew wanted to add custom designs and dynamic content.
Mailchimp is the easiest to get started but it doesn't let me create the dynamic emails I had in mind and I'd rather make this entire process automated. A custom-built solution on my backend seemed the best bet for long term costs but also to create the best experience for my users.
Templates
The first thing I needed was a simple way to create email templates that worked across all mail clients and was easily customizable. I looked at some of the template designers but they didn't suit my needs. Personally, I prefer simple emails with a focus on text and a few images. It's easier to scan and there are fewer distractions for the recipient than when it's over-designed.
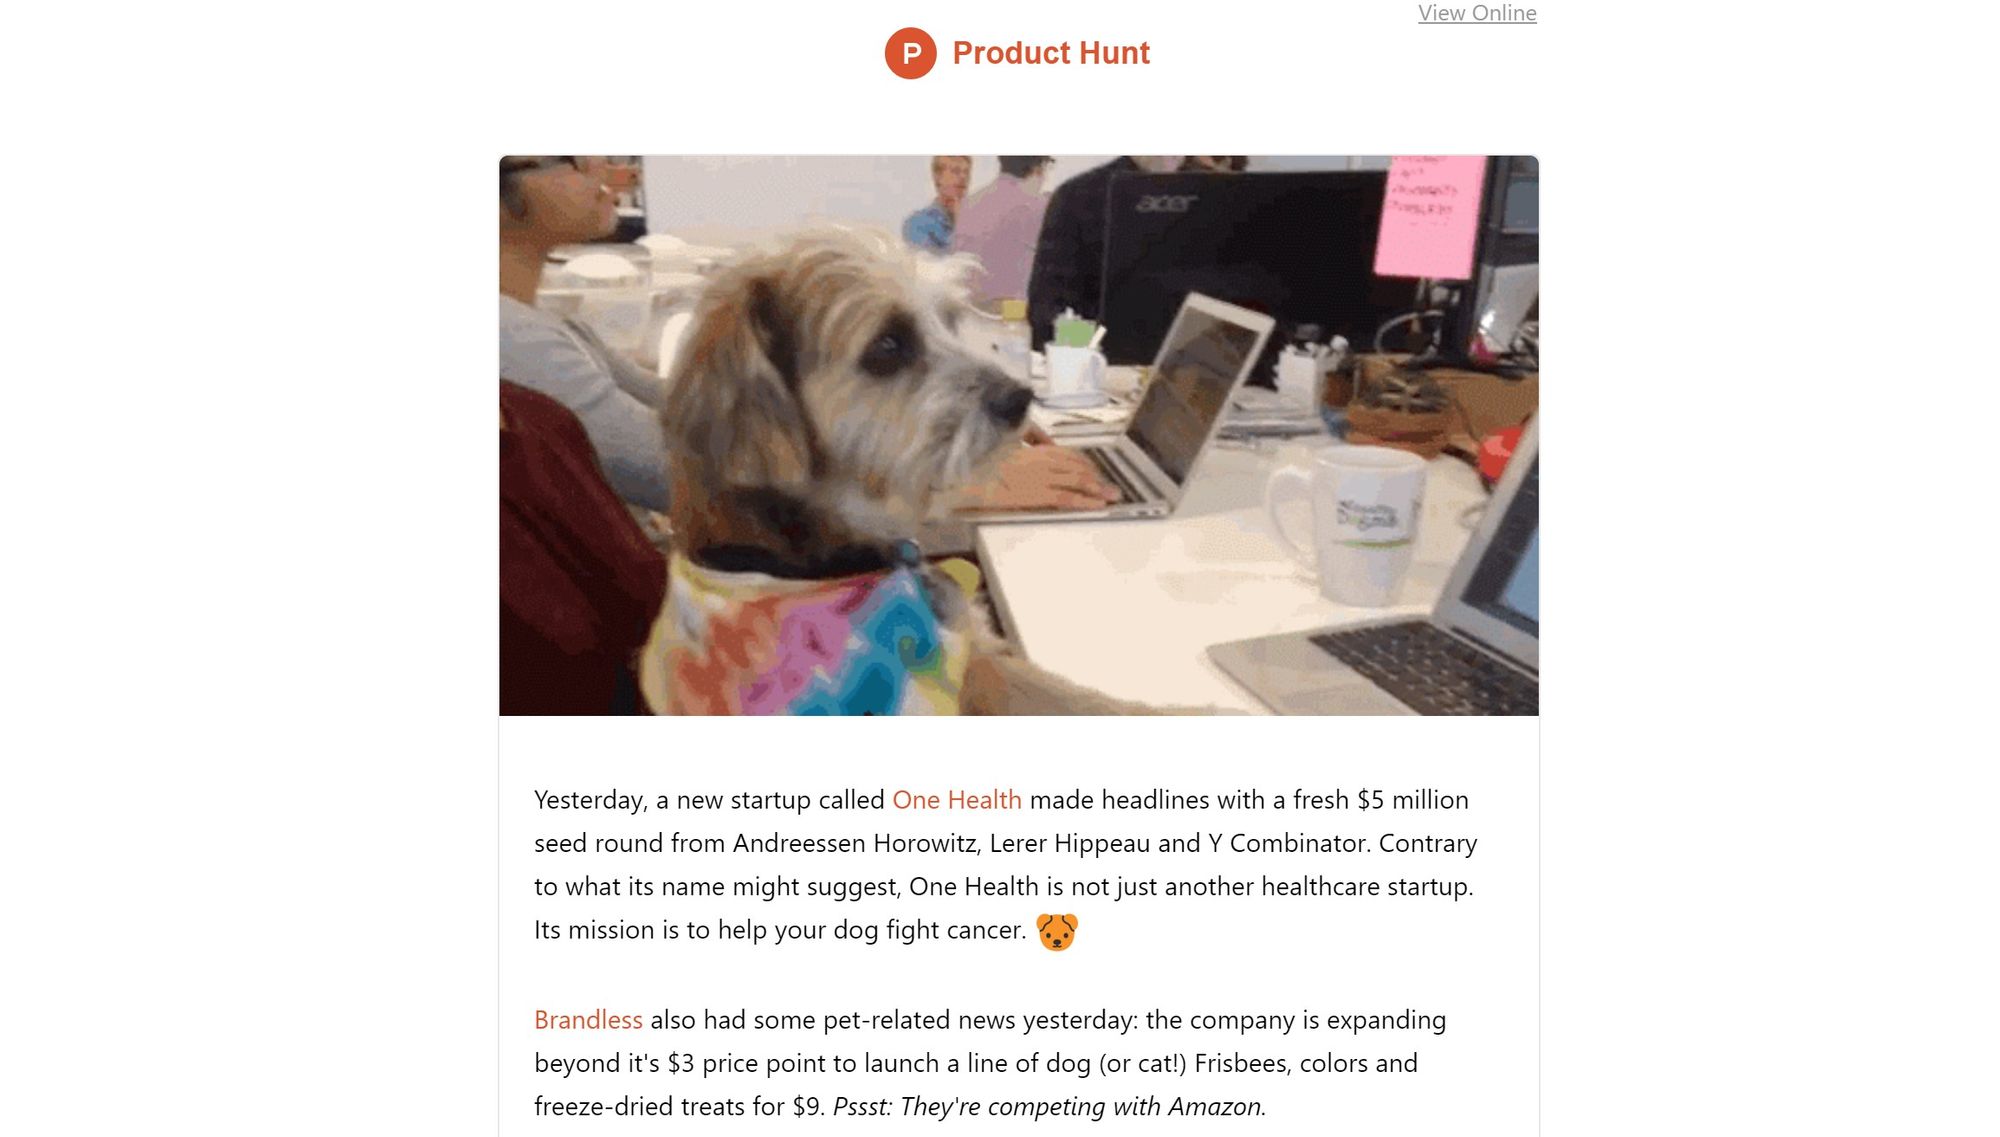
Some of my favourite newsletters and product emails are Product Hunt's, Android Weekly, and CityLab. They all keep it simple with white backgrounds, black text, and few images and icons.

The template designers would take a lot of work to simplify to what I wanted and I'd be limited by their tools.
HEML
HEML is an open source markup language for building responsive email built by the SparkPost team. What I love about it is that's it's basically plain HTML and CSS. There's little to learn to get started and few shackles to customise it to your needs.
Building a template with HEML is pretty simple.
First, you'll need to install it on your machine with:
npm install heml -gThen create a template file with the .heml extension like email.heml
A basic email looks like:
<heml>
  <head>
    <subject>Email Subject</subject>
    <style>
      body { background: green; }
    </style>
  </head>
  <body>
    <container>
      <h1>Hello world</h1>
    </container>
  </body>
</heml>
Then you just need to run the following command for a preview of the email and you can edit in real time.
heml develop email.heml --openWhen you're done you can build it into a HTML file with
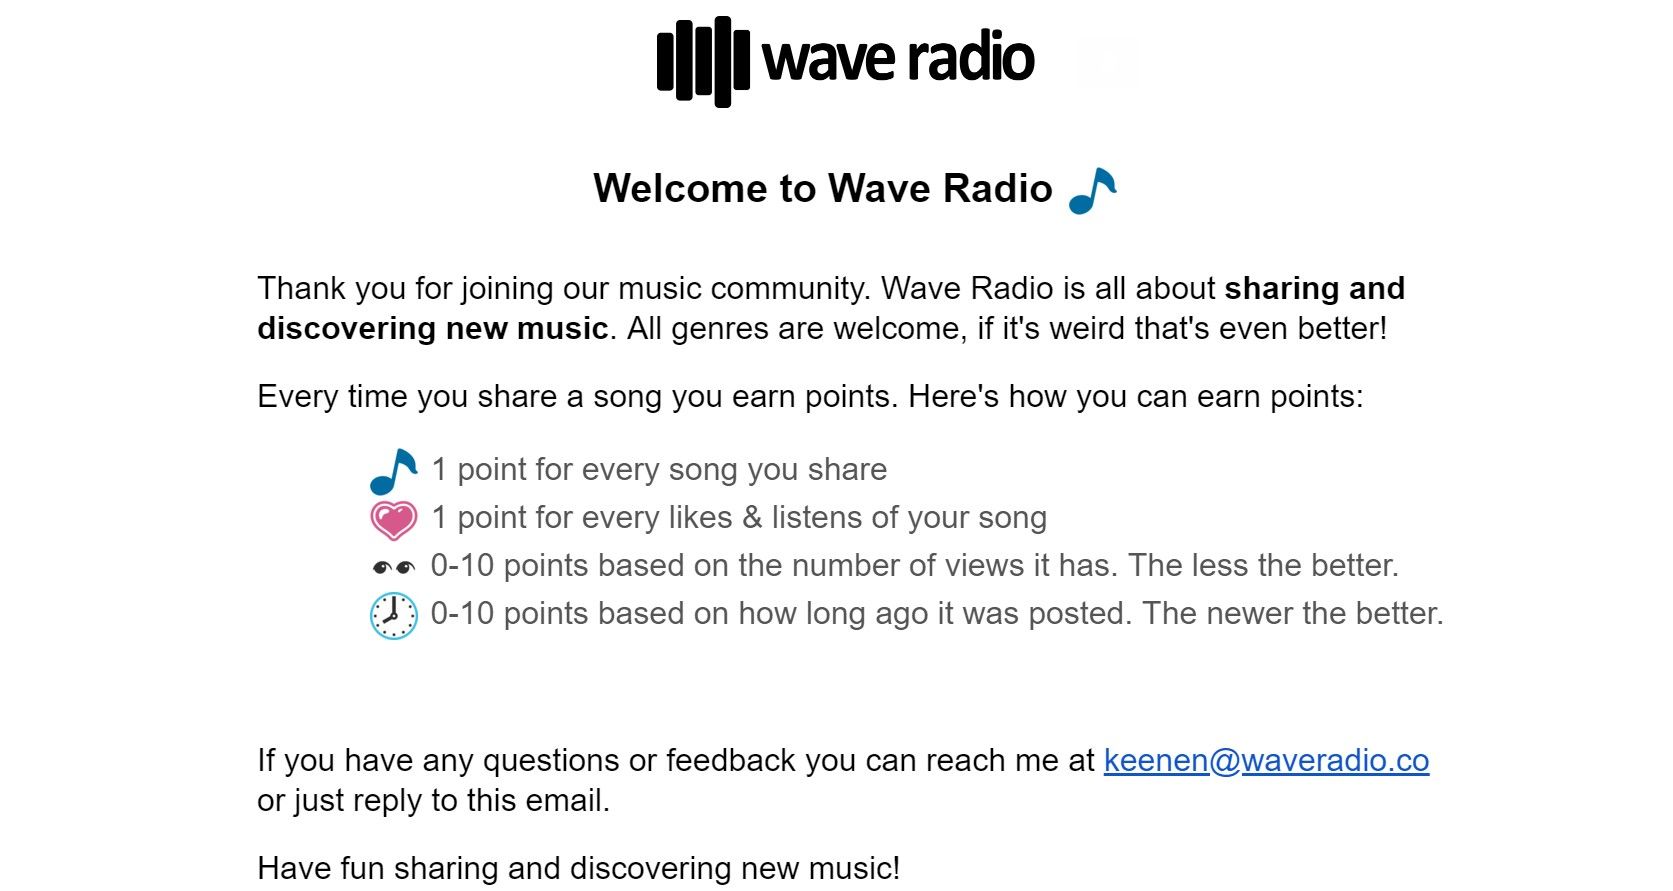
heml build email.hemlHere's the simple email I made to welcome new users.
Making It Dynamic
The welcome email was pretty simple but I also needed dynamically generated emails to share the best new songs with users. Who wants to do that manually?
HEML doesn't have any functionality to do this so I needed another solution. My backend is built with Node and Express so something that worked seamlessly with it would be perfect.
Template Languages
After some research, I decided to keep it simple and use the templating already available in my Express set up.
For this project, I used EJS, a simple JS templating language that lets you generate HTML dynamically. It lets you use variables, for loops, conditions, and anything else you can in regular Javascript.
All it takes is adding some EJS markup to the HTML file generated by HEML.
<% songs.forEach(function(song){%>
    <div class="song">
        ...
    </div>
<% }); %>
The next step was writing a functions to use EJS to generate the email with actual data. This is really easy with EJS.
ejs.renderFile(pathToHTMLGeneratedByHEML, data, (err, str) => {
        if(!err){
            //use str variable to send email
        }
    });
Sending Emails
Sending emails in Node is simple with nodemailer. You can connect to an email account by SMTP or with one of its transporters for third party services like Amazon's SES.
Here's a basic function to do it.
var sendEmailFrom = function(email, from, subject, body) {
    var nodemailer = require('nodemailer');

    var transporter = nodemailer.createTransport({
        host: 'smtp.domain.com',
        port: 3000,
        secure: true,
        auth: {
          user:'email@mail.com',
          pass:'password'
        }
    });

    transporter.sendMail({
        from: from,
        to: email,
        subject: subject,
        html: body
    });
};
Then you can just pass the results of the ejs.renderFile call to this function as the body to send your email.
And That's It
It took me a few hours to build but I think it's worth the effort to have nicer emails that you can customise easily in the future. But most importantly to save on costs that can easily rise as you're sending daily emails to lots of users.


